Showing posts with label fish. Show all posts

Tuesday 1 April 2014

How to make gravlax and rye bread like a proper Viking

As I am descended from Vikings it is appropriate that my favourite things are white spirits and cured fish. I am not sure why it has taken me this long to think of combining these two amazing things, but anyway I have now, and I've gone and made a vodka-cured gravlax with dill and brown sugar.


I paired it with home made rye bread (I had to search for hours to find a recipe that didn't require me to start SEVEN DAYS IN ADVANCE WTF??!!).


Making the gravlax made me feel all historic and ancient-y, because every ingredient and process is totally, utterly natural and stone aged. Except for the brown sugar, but apparently you can use honey, which would be a bit more convenient if you were a Viking caveman.


The recipe I used is here, but I would recommend reducing the curing time to 24 hours or less, and using less salt. That's because I had a little chat to the friendly chef at Mako Fresh Fish in North Hobart. This 20-year veteran of gravlax was only too happy to discuss some of the finer points of gravlax curing. It seems that Scandinavian palates are fond of salt whereas Australian palates enjoy a fresher, raw-er taste (think of the influence that Japanese food has on us with its beautiful sashimi, for instance). For a less salty cure, reduce the curing time, reduce the amount of salt and be sure to use a salt that is not too strong - this one was recommended.


So basically you mix salt, brown sugar, pepper and lots of dill, and rub it all over your salmon fillets (see the picture above). Then you pour a good whack of vodka over the whole thing and squish it down with a large heavy rock.

OKAY. You do not need to use an actual rock (although this one from my garden was absolutely perfect and far better than anything else I had - before I found it I was trying to manufacture a suitable weight from jam jars and butter pats).

You could use anything flat and heavy as long as it presses down on the salmon, not on the edge of the dish.


Put it with its weight in the fridge - yes, I know Vikings had no fridges, but honestly they could have just left it on the nearest ice floe - and leave it for 12 hours. When you pull it out to inspect it, it will look like this.


Close up, you'll see the part of the flesh that's been immersed in the curing solution has changed colour slightly, becoming paler (the lower edge in this pic).

The skin of the fillet also becomes really firm and hard, I think from the compression that comes from being weighted down.


Turn the fish over and leave it for another 12 hours to cure the other side. Then take it out of the curing solution - it's ready to slice and eat.

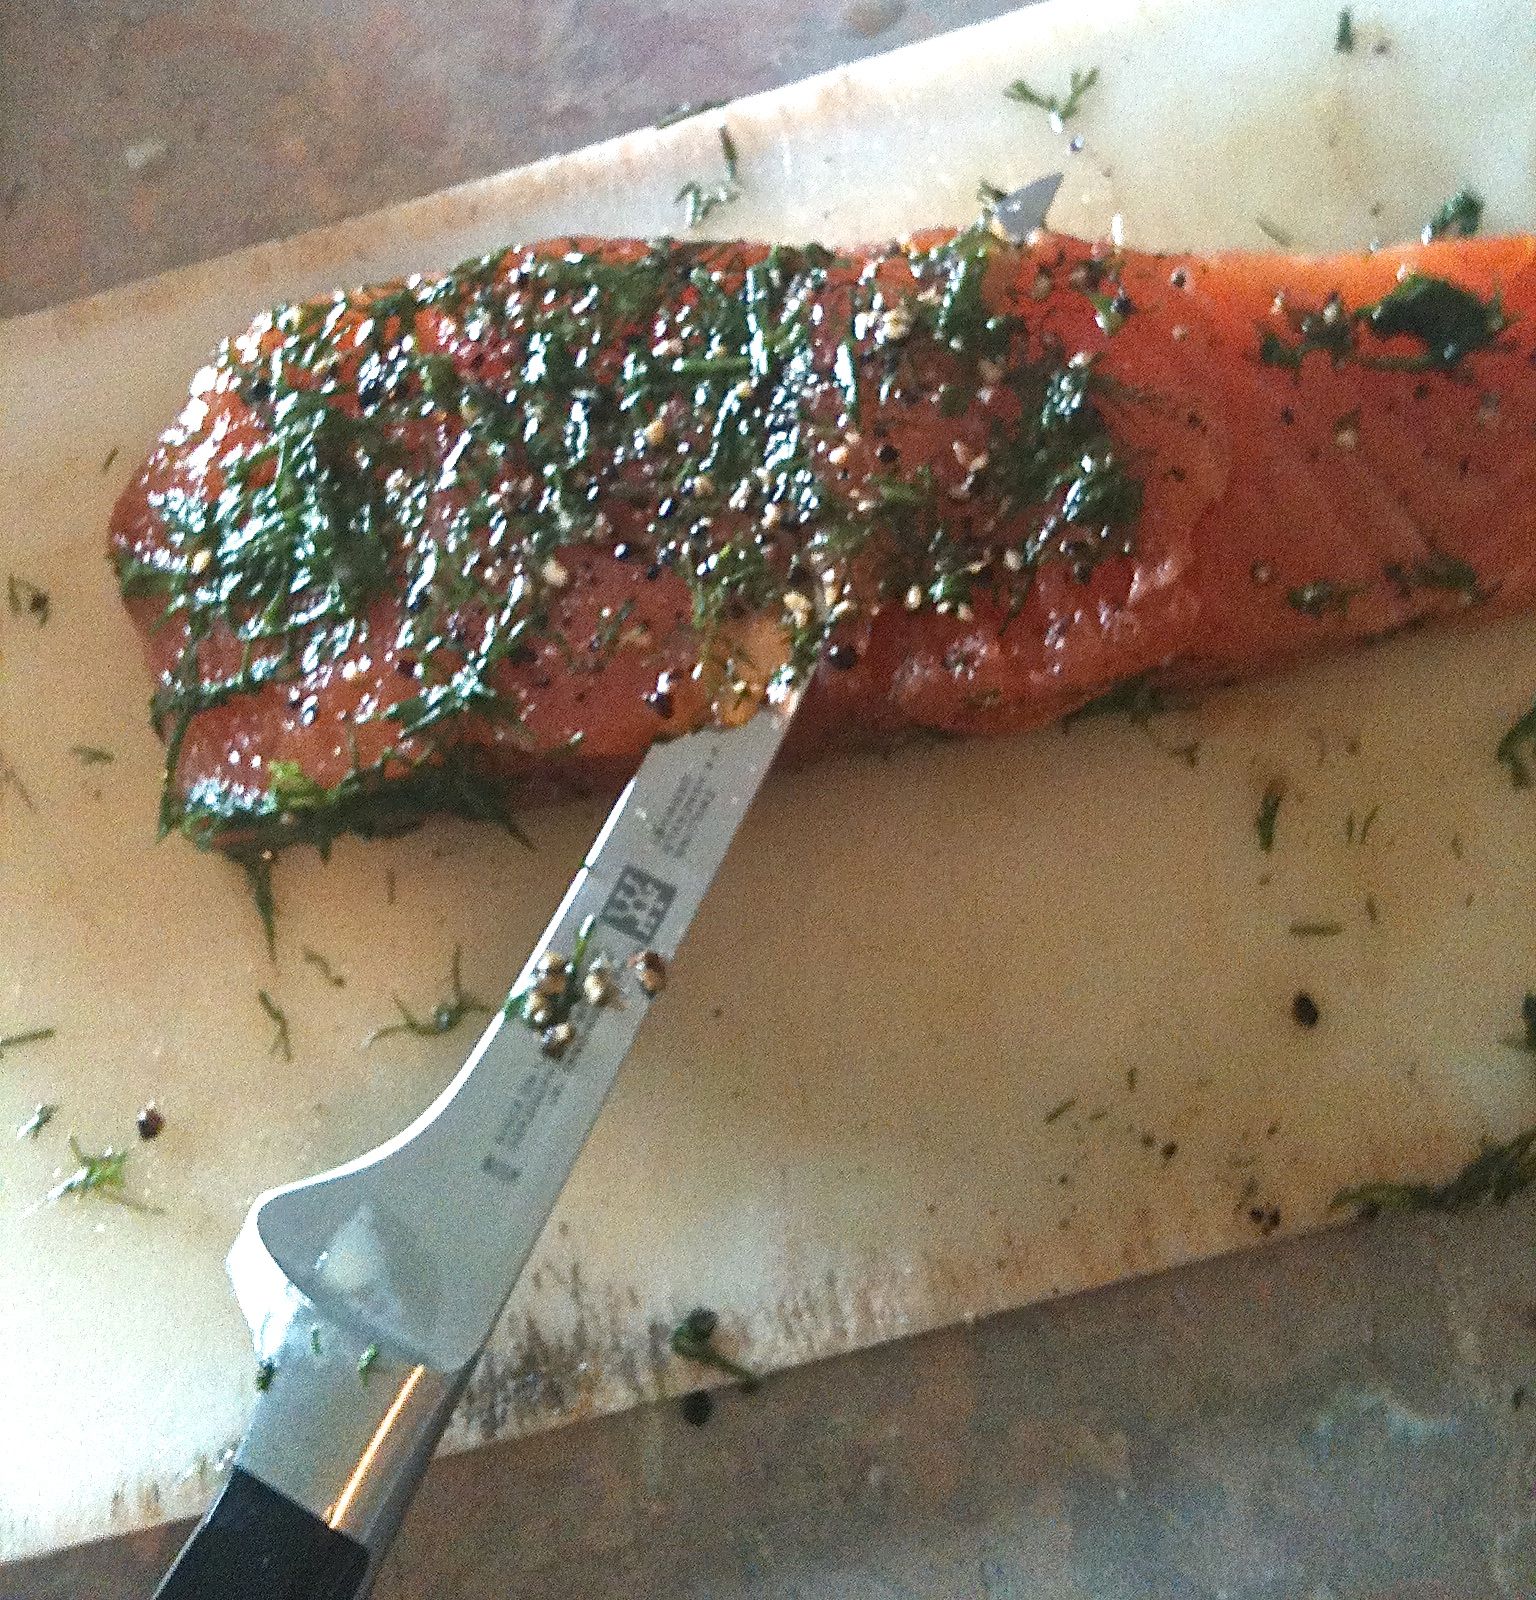
You need a VERY sharp knife. I found it difficult to slice evenly, a bit like trying to slice prosciutto by hand - you want thin slices and it's difficult to maintain the smooth even pressure that you need. Practice helps. I got better.


I managed to get slices that were about 2-3mm thick and fairly straight.

You'd think I altered the colour saturation in this photo, but no. Gravlax really is a stunning, translucent coral pink. It was so beautiful I nearly cried.


I tried to cut whole strips but inevitably I ended up with half-strips and shards. I didn't really mind because I was hypnotised by the wonderfulness of it all.


I was wondering how to present it best. Re-layering the sliced gravlax fillet with its lovely peppery and salty dill crust seemed a good idea.


But you make the most of the colour and texture if you spread it out a bit.


What do you need with gravlax? Not much really. But I did wonder about making some rye bread. I had never done this before.


Let me tell you something. Despite what many cookbooks will imply, life is too short to spend 7 days making a loaf of bread. Yes, 7 days.

Do yourself a favour and use Nigel Slater's recipe which is awesome,  easy and has a two-hour turnaround.


Nigel's recipe makes enough for two loaves, which is fine, because rye bread keeps really well and you can go on using it fresh for days and toasting it for up to a week. He put his bread in tins but I wanted to hand shape my loaves and I gave them parallel diagonal scoring marks because I like the way it looks.


If you want to be purist you will of course make your own butter. Yes I do. I make my own butter. Before you scoff at my ridiculously purist attitude, try it sometime. You too may get addicted.


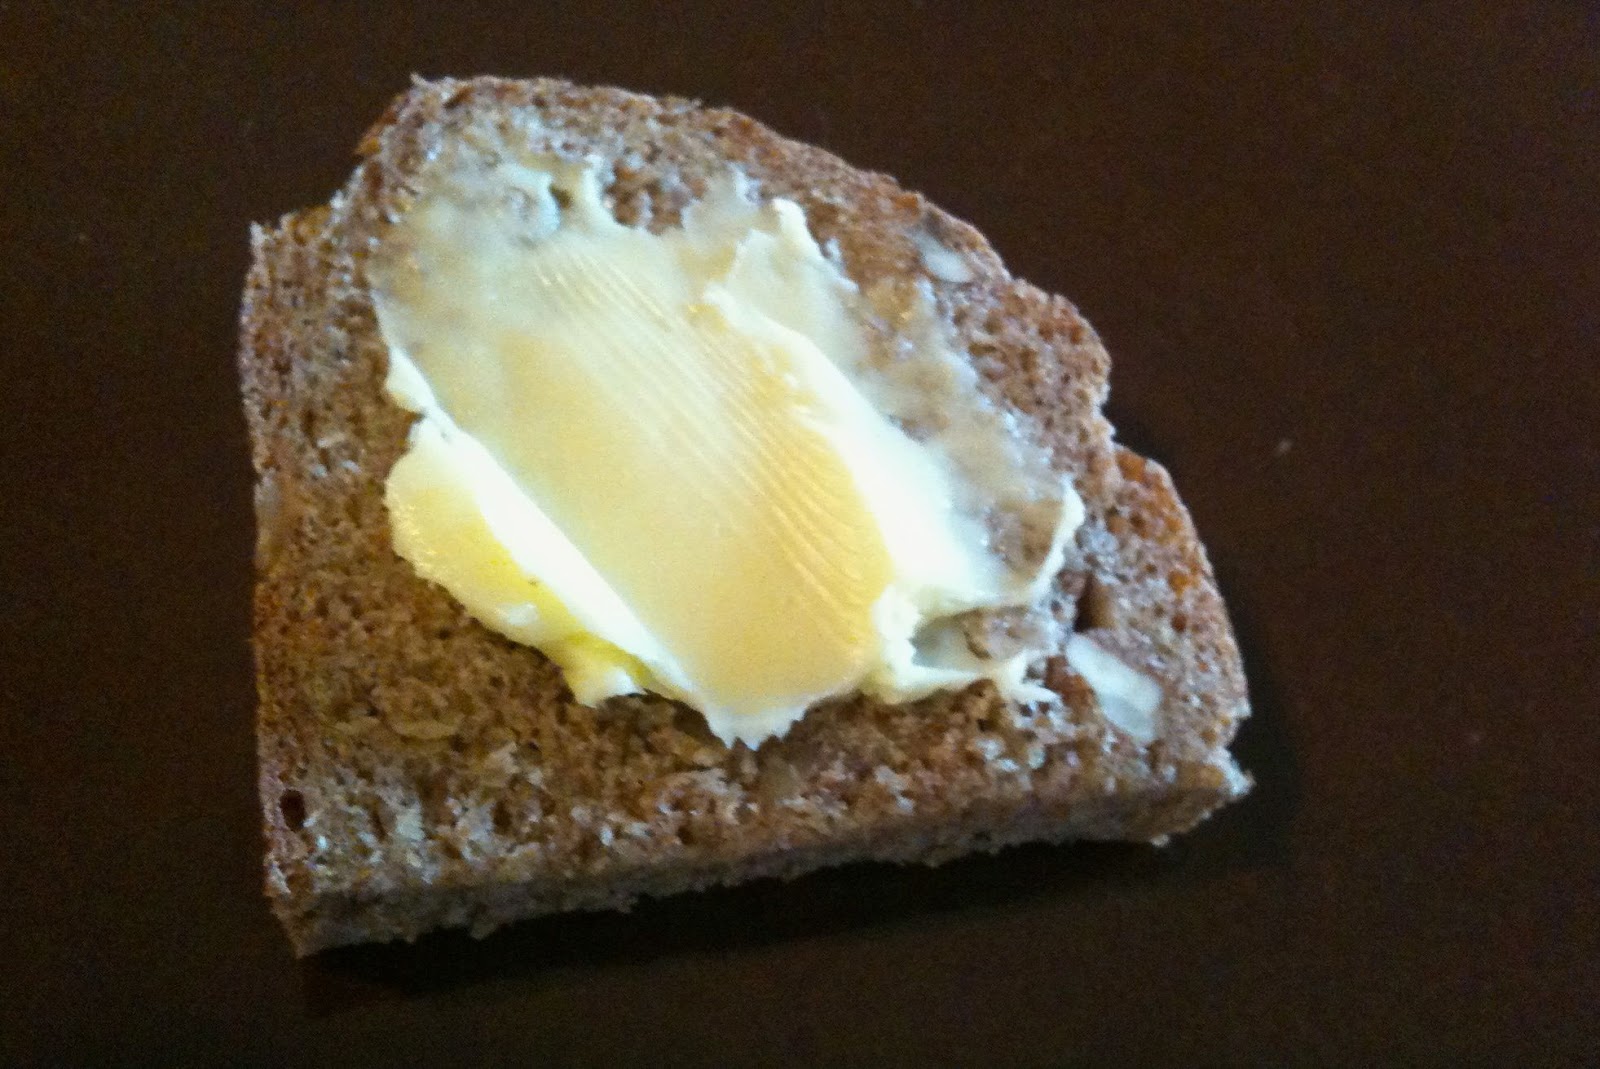
Normally when I cook things, I get to the end of the cooking process and I don't really want to eat anything straight away - it's like the cooking substitutes for eating and takes my appetite away. HOWEVER, I couldn't wait to slice the gravlax and lay it on the rye and sink my little teeth into it.


If you've read this far you must really like gravlax. I admit that smoked and cured salmon is totally awesome and one of the world's best foods, and if you want to see some other things I've done with it, you can have a gawk here. And, being Dr Cupcake, I've even done imitation sushi in cupcake form... which you can see here.

So long for now, all you gravlax-loving Vikings out there. I'm off to sample some vodka. I'd love to say it's top shelf stuff, but the regular quantities required would most likely bankrupt me :)

Love, Dr Cupcake


Monday 7 March 2011

A penguin birthday cake for Mr Cupcake

As Mr Cupcake's birthday approached I asked him, predictably, what he would like in the way of a cake.
Not being as obsessed as I am with cakes, Mr Cupcake did not know what he wanted.

"Anything," he said. He then specified that he would like a Sacher torte as the kind of actual cakey substance but that he wouldn't mind if I paired that with a fondant icing rather than the normal glossy chocolate icing of true Sacher tortes.
The weather in Tasmania has turned very cold so suddenly that a icy penguin tableau seemed quite apt for a March birthday. I decided to try something I had seen in Planet Cake Cupcakes.

This was only the second time that I have decorated a full size cake with fondant icing. Planet Cake definitely wouldn't give me a job based on the end result, but as a beginner I was reasonably happy with it.


After I had baked the Sacher torte, I split it horizontally and filled the centre with blackcurrant jam. Then it was time to ganache and hot knife for a smooth finish.

It took an awful lot of ganache to cover all the top and sides, because it needs to sit in every little uneven crevice and be built out to an even edge. This is the ganache finish.


 For some reason Mr Plums was fascinated with the whole decorative process and every time I got up from my chair he took a front seat to watch the proceedings.


I measured the cake (top and sides) so that I would know how large a piece of rolled fondant I would need to cover it. Then I rolled the fondant to about half a centimetre thickness and draped it evenly over the cake. I smoothed it by hand from the middle to the top edges and then down the sides, and trimmed around the base. 


The penguin took a while. I modelled him from a single large ball of fondant, but had to lie him down to dry out because his head kept drooping forward. He looked crushed and sad. However, he hardened up nicely while lying down with his little head supported by a foam pillow to keep his back hunched.

His flippers were rolled and hand cut, then left to dry completely before moving them. I cut deep slots in penguin's sides to stick the flippers in.


Penguin had to be painted. I used a black gel food colour and a fine brush to do his head, back and one side of his flippers, leaving his tummy white.

The white side of one flipper got a bit of black on it - I thought this was terminal but managed to remove the stain by wiping with a damp cloth - good to know for future reference.

When penguin was dry, I stuck tiny white fondant balls on for eyes and dotted a black pupil in each with a paint brush. I stuck his flippers into their slots and put him on the cake, then placed his feet in front of him.


It was time to cut a hole in the 'ice'-ing to go fishing! I made the hole with a small circle cutter, going right down to the ganache layer.

Then I peeled the fondant away, but replaced it with a very very thin layer of white fondant, just so that the blue gel would really shine.


I squirted a thin layer of blue gel into the hole using Wilton's cake decorating gel - it comes in a range of colours, very useful for water effects.


Then I modelled a fishy from white fondant (actually, I only needed half a fishy), and painted him using 'ivory' gel colour (it looks light brown when concentrated), decorating him with green dots and black ridge along his fins. I stuck white balls of fondant on for his eyes and dotted black paint for the pupils, as with penguin. Then I placed fishy in his icy pond and piped another layer of blue gel around him.


In photographing the cake I thought this pic which was taken in direct sunlight seemed to make the 'icy' setting more realistic. The sun gleams off the water beautifully!
I finished up with Happy Birthday candles in green and orange to go with the fishy and a matching green ribbon at the base of the cake, which apart from providing a bit of colour to what was a very pale cake, also served to hide some little imperfections at the base.
Mr Cupcake was somewhat bemused by the choice of decoration. This is his bemused look.
Happy birthday Mr Cupcake... just like the penguin's successful fishing expedition,  may this year present you with many delicious surprises!