Showing posts with label orange cake. Show all posts

Saturday 13 April 2013

Citrus fusion: an orange marmalade cake with lemon glacé icing

I've made this orange cake before but I've never combined it with lemon glacé icing before. It turned out to be the perfect combination. The cake is dense, rich and syrupy, and the tangy, thin icing cuts through the richness perfectly.

I decorated it with a few fondant flowers. This is a simple, plain sort of cake, and you don't want to get too fancy with the decoration. A few flowers are fine.


This recipe is very simple:

Ingredients:
3 eggs
100g ground almonds
50g caster sugar
1 tsp baking powder
175g orange marmalade


Preheat oven to 180C and grease a loaf tin. Beat the eggs with an electric beater for five minutes, until they are thick and creamy.

Then add all the dry ingredients and the marmalade, and fold through the egg mixture until well combined.

You should end up with a foamy, loose mixture. Pour into the tin and put into the oven immediately. Bake for 30-35 minutes or until a skewer stuck into the centre comes out clean. If the cake starts to brown too much on top before being ready, cover its top with foil and reduce the oven heat a little.


The cake will rise, then sink in the middle - to get a flat top on the cake, reverse it when taking it out of the tin.


Glacé icing:

200g icing sugar
1 -2 tblsp lemon juice
lemon zest (if desired)

Mix the juice in with the icing sugar and stir until smooth. Adjust for desired thickness/runniness by adding more juice or more sugar.


When cake is cold, dollop the icing onto the cake and smooth it out with a spatula. I like mine to run down the sides of the cake in some droplets and look a little home-made and rustic - use lots of icing for this look.


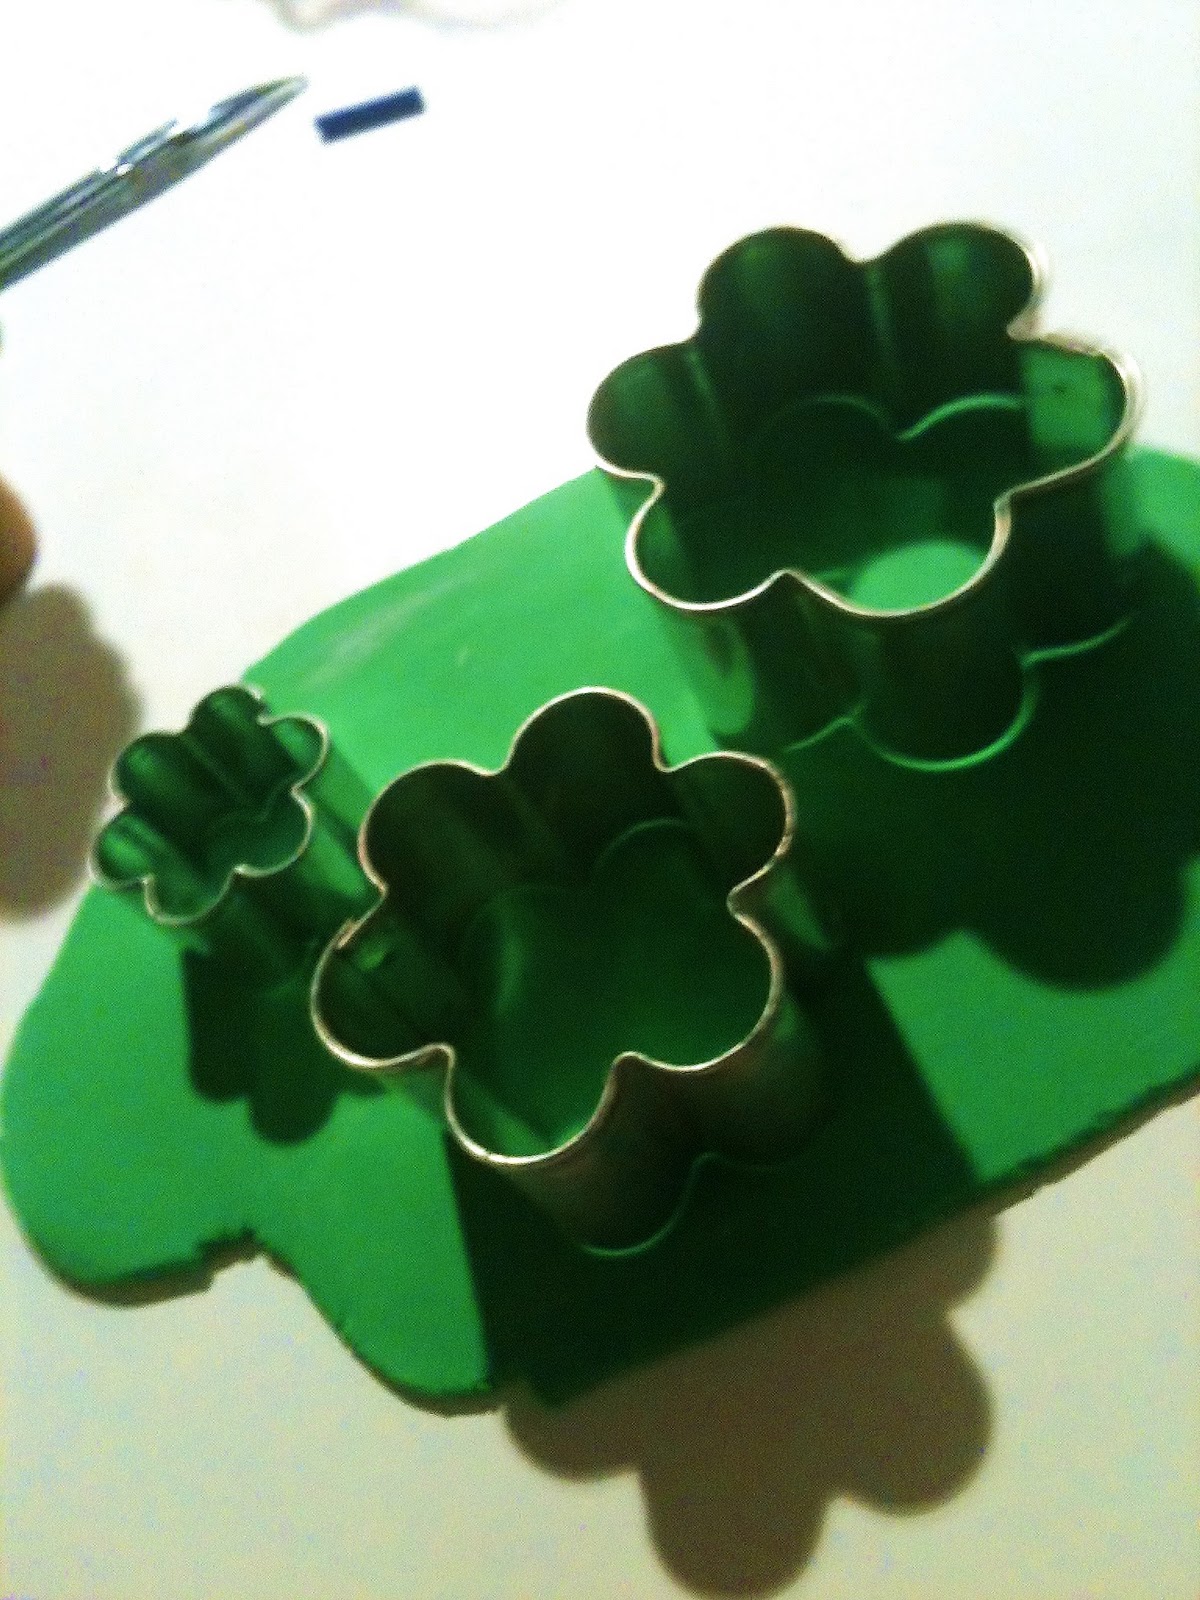
For the fondant flowers, if using, you'll need some coloured fondant, a small rolling pin and some flower shaped cutters.

Roll out a small piece of fondant, using cornflour to prevent it sticking. Stamp the fondant with the cutters, then add a cachou to the centre of each flower, fixing it with a drop of water.


Once made, these flowers will last for months in an airtight container. Make sure they're completely dry before sealing the container, though, or the flowers may go soft.

A small amount of fondant will make lots of flowers, so it's worthwhile doing a big batch once in a while and keeping them for use in decorating.


That's it for the orange marmalade cake - good luck and happy eating from Dr Cupcake!

Tuesday 20 September 2011

Katie's spring garden birthday cake

My beautiful co-worker, Kate, had a birthday recently, and we all love birthdays because it gives the whole office an excuse to take a minute out of our busy day to celebrate together. We've been enjoying some great weather lately, the birds are singing, the flowers are blooming and it just seemed a good idea to make a spring garden cake. 


I admit that this cake was produced in a bit of a hurry, since Katie had the bad timing to have her birthday on a Thursday (the best birthday day is clearly a Monday because you have the whole weekend to play at cake decorating). Also, Criminal Minds is on telly on Wednesday evenings. Kate was lucky not to end up with a 'murder scene' cake. 


Rome wasn't built in a day, but this cake was. Inside, it's an orange cake made with ground almonds and marmalade. As soon as it was out of the oven and cooled down, I spread it with ganache all over the top and sides to smooth any dips or uneven bits. 


While leaving the ganache to firm up, I made some flowers from orange and pink coloured fondant, rolled thin and stamped out with some different sized flower cutters. I used a ball tool to curve the flowers up and left them to harden. 


Next I wanted some trees. These are halfway between a palm tree and something out of Dr Suess... not deliberately, just because I am not very good at trees. 


I started with making different sized flower shapes out of rolled green fondant, for the canopy. 


Then I made a cone of brown fondant and supported it by pushing a lollipop stick down the centre of it. I fixed a ball of green fondant on the pointy end and draped the layers of green canopy over the top, and left this to dry. 


After I had made two trees and quite a few flowers (more than I needed - you can store these in an airtight container almost indefinitely), I wanted some clumps of long grass.


To make a clump of grass, take a small amount of green fondant and hand roll it into a little cone. Then, using a small pair of scissors, snip into the cone vertically to end up with six or eight points of 'grass'. 


By this time the cake and its ganache coating was set and hard. I rolled out some light green fondant, large enough to cover the entire top and sides of the cake, and smoothed it on. 


At this stage the trees, grasses and flowers just needed to be placed on their little lawn. 


All the bits'n'pieces were fixed to the cake with a few drops of water. 


I stuck some coloured cachous in the centres of the flowers for extra bling. 


All that was left was to get the birthday girl to cut the cake! This is Kate holding the knife (and her security pass, bizarrely - maybe if you wave your pass and flash that beautiful smile Katie, the security guys won't mind that you have a large knife handy??)


The big moment... cutting the cake whilst a Minister of the Crown lurks in the background :-)


Within a few minutes we had done some serious pruning of the spring garden. 


Happy birthday Katie!